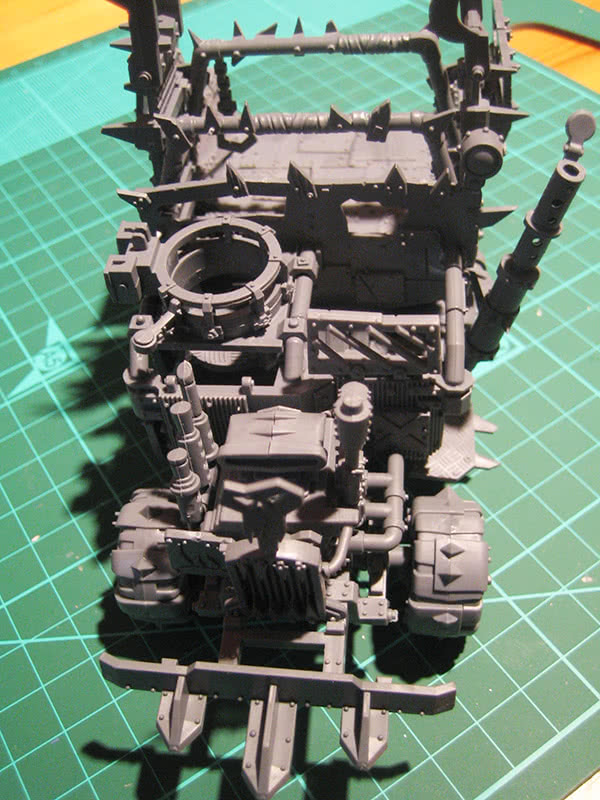
I've just finished assembling my first (of the two I have) ork trukk. Being the first "new generation" vehicle I've assembled since late 90s, It's been a small challenge having optional parts, multiple positioning of others and optionally non-gluing some of them.

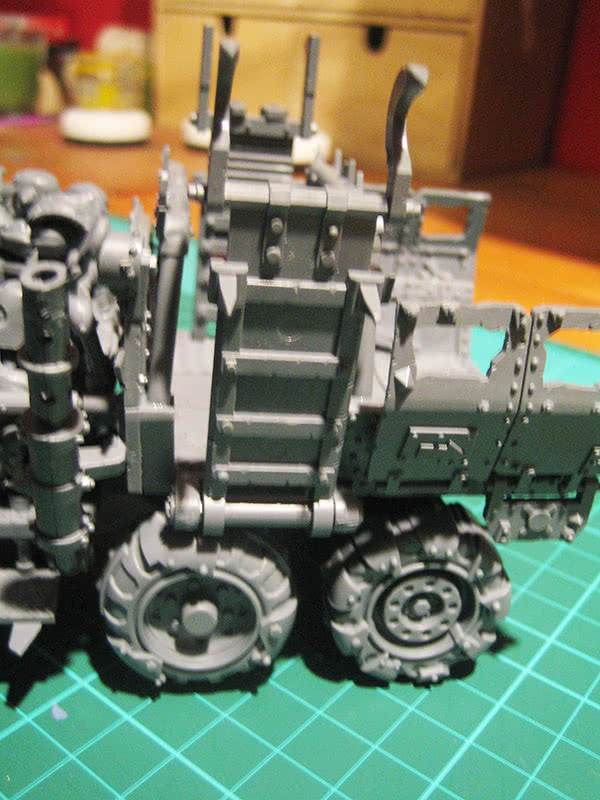
I plan to make minor changes to each trukk, so this one for example has no frontal armour panels (thus, exposing the truk engine), but I've kept the ram because orks are brute and will love ramming space marines at full speed.
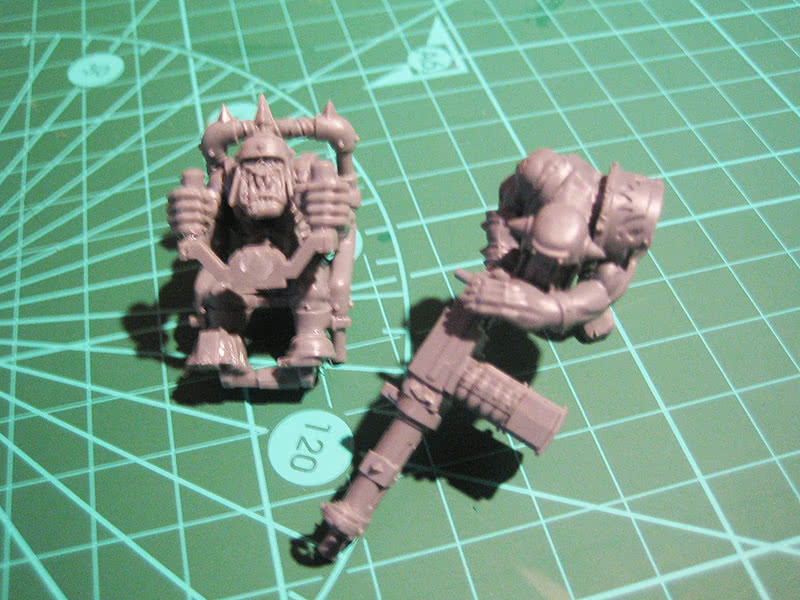
I haven't glued yet both the driver and the gunner orks to properly paint them.
But the idea is to end gluing them to avoid pieces falling on a play session.
The side ramps arent glued either (only the side gears that hold them to the trukk).
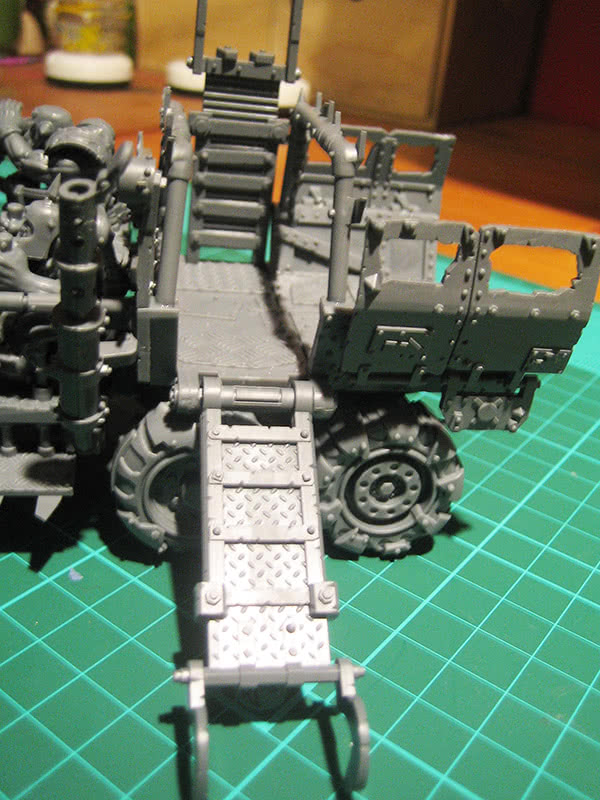
So in will be clear when the trukk is deploying the carried troops.
In general, assembly of the trukk requires you to be patient and look carefully at the instructions (sometimes they indicate a lot of pieces and you need a second look to see exactly where they go), and you should fully assemble a "component" (for example, the gunner's cabinet, or the engine) before putting it on the trukk.
Now building the second one will be much easier.
Offtopic note: From now on, I will upload bigger images, 640x480 was a bit too small.
Tags: Miniatures Warhammer 40000