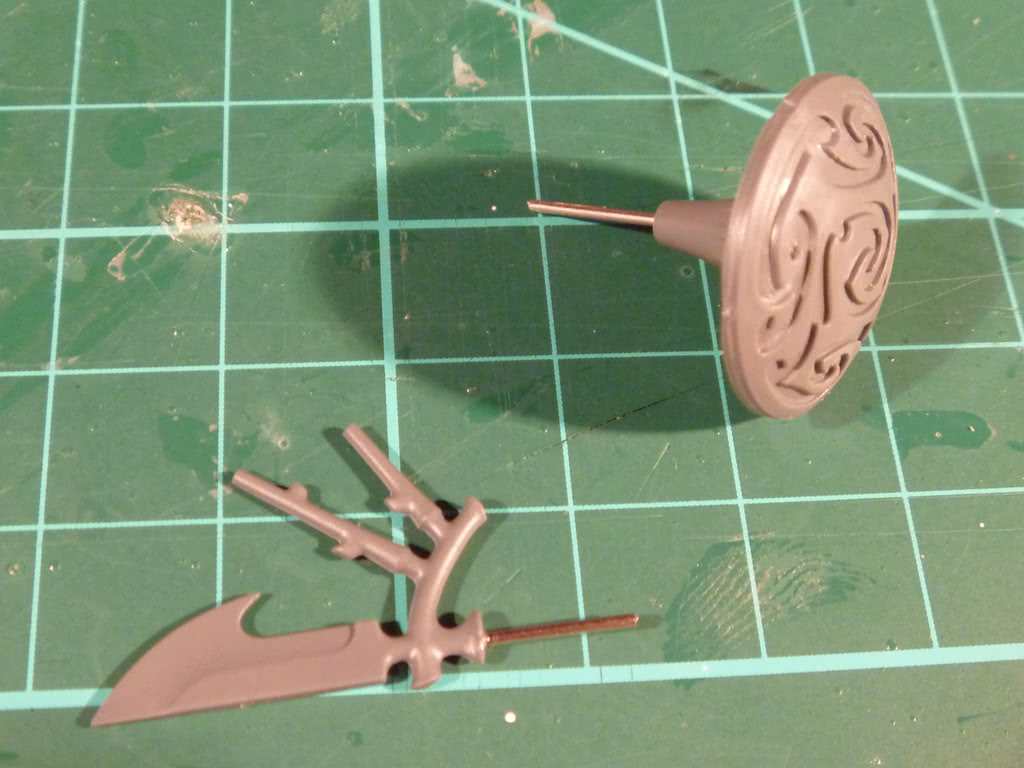
The rear Chronos syphon or Talos knives use headless needles to be interchargeable. The needles are glued to the parts, and the rear of the miniature has a deep hole.
The newly released Dark Eldar Talos/Chronos is a gorgeous looking flying monster, but it is also expensive to buy two of them just to have both a Talos and a Chronos models.
As they share many common parts, I decided to finally go for a magnetic modding to try to exchange arms, lower body and rear part and have interchangeable parts.
I used a split into two small magnet, nails, needes. Tools I used were a modelling knife, plastic cutter and a modelling drill (tiny one).
The rear Chronos syphon or Talos knives use headless needles to be interchargeable. The needles are glued to the parts, and the rear of the miniature has a deep hole.
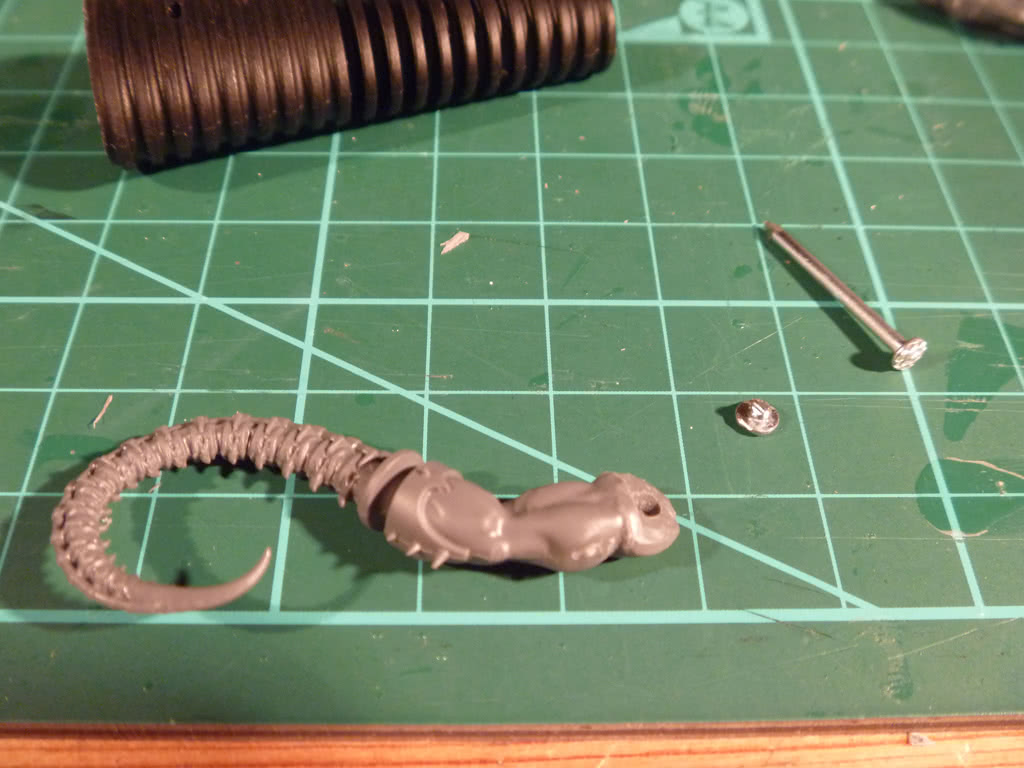
Cutting an arm to fit the nail. I do an L shaped cut with the knife, then drill a hole, extend it with the knife, cut the nail head and glue it.
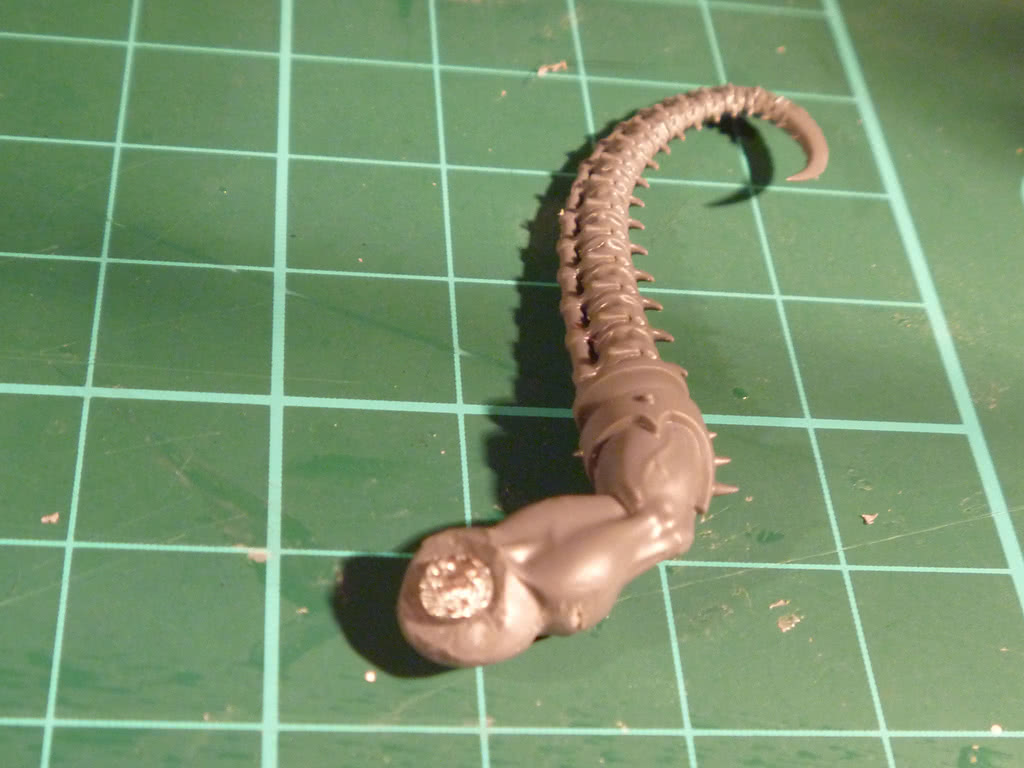
Chronos arm detail.
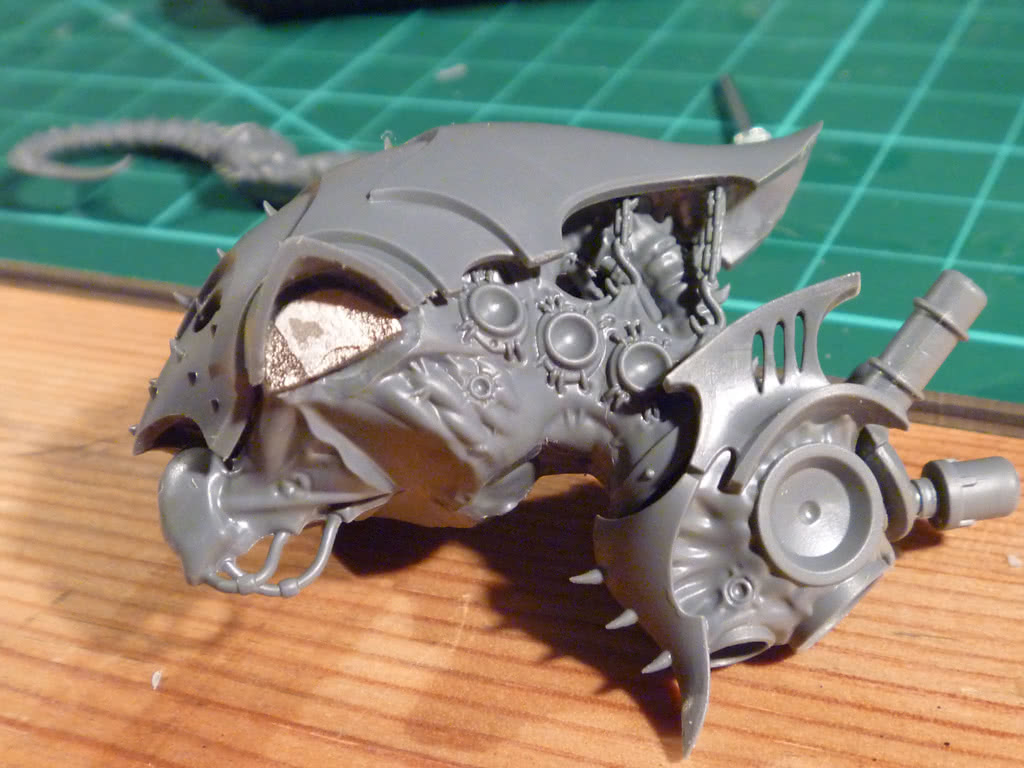
Cut oval magned glued in the arm placeholder
With the cutter I splitted it into two (it was tiny).
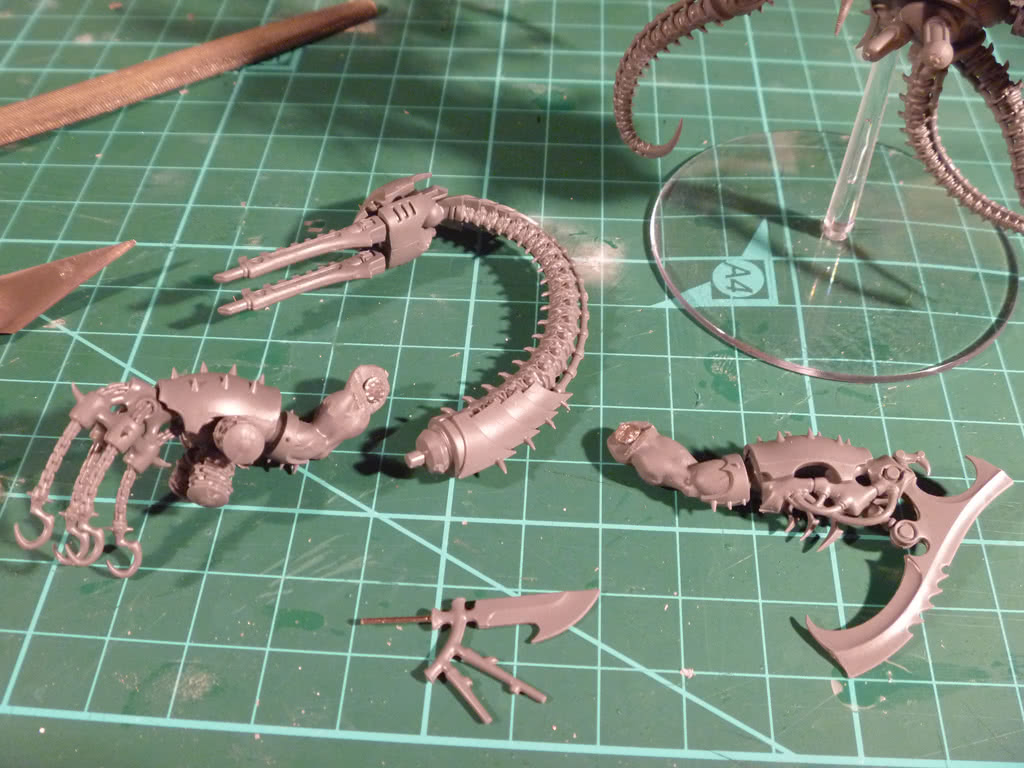
Talos components unplugged.
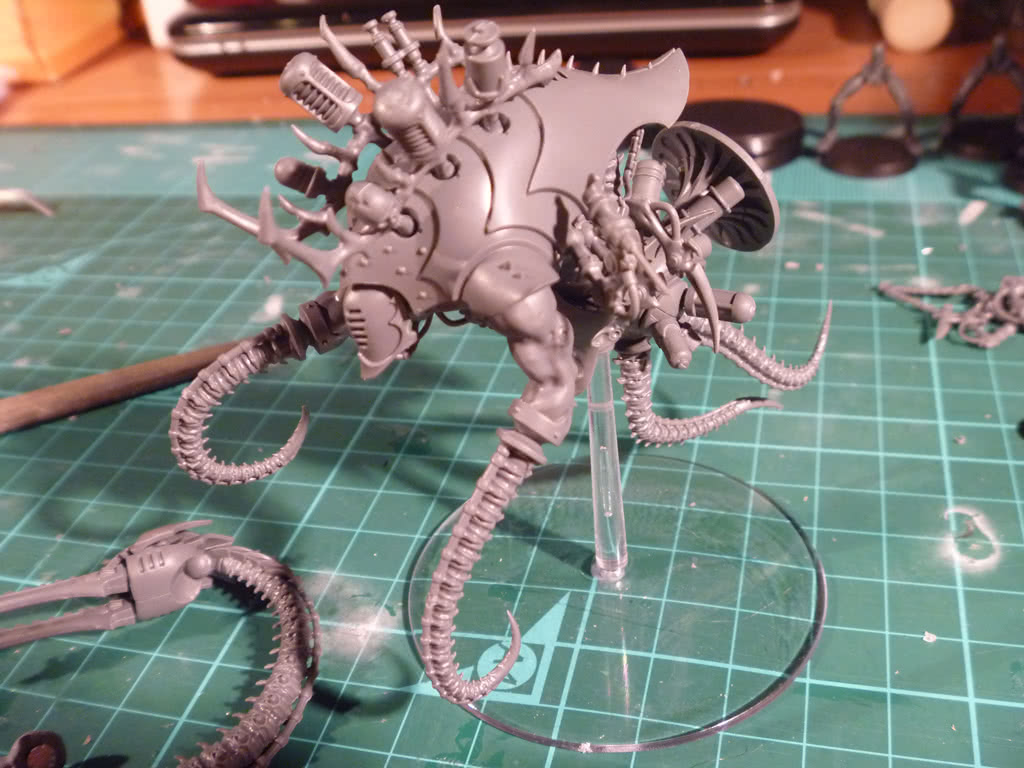
Chronos version, with the tentacles and the spirit syphon at the back.
Looks really fantastic and here the magnets work perfectly.
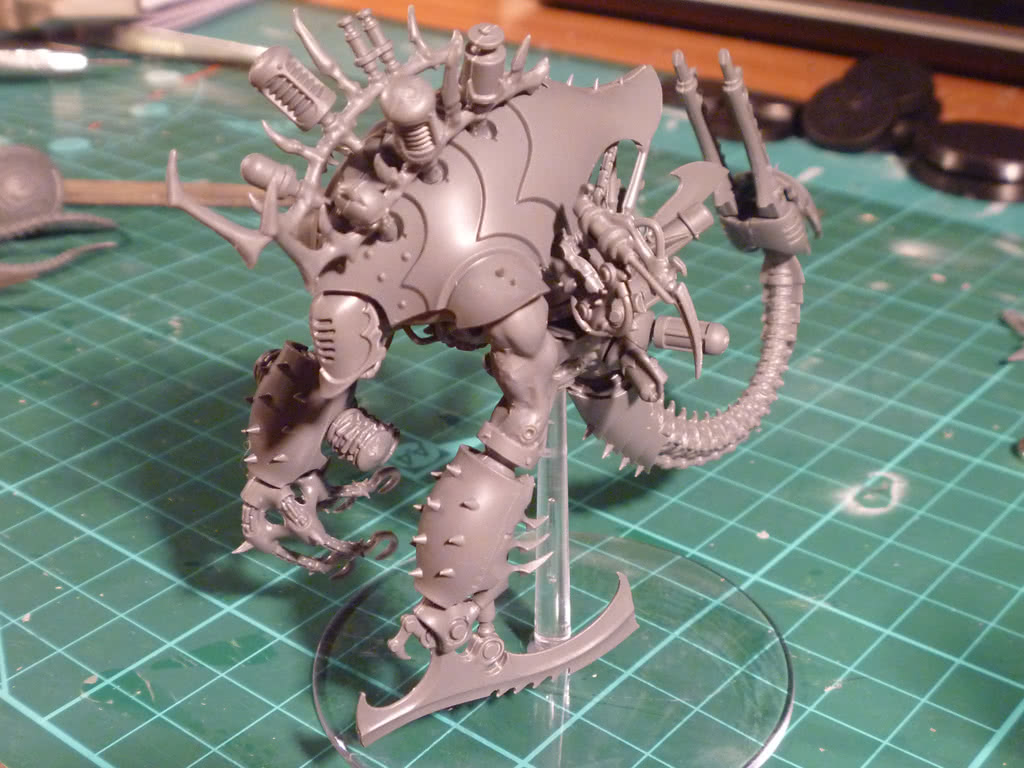
Talos version. Notice my fail that makes the scorpion-like tail hang too low.
Also the arms of the talos version seem to be a bit heavy so the magnetized arms tend to rotate down to a hanging position.
For being my first attemp to magnetize a model is not bad, my worst fail has been the positioning of the tail and wasn't due to the magnets but of my dumbness of not properly checking the instructions before.
For the next magnetized model I definetly need magnets on both sides. The trick of the nail heads is not strong enough to allow all arm positions.
But at least I achieved my mission of having both miniatures paying just for one :)